April 16, 2018

(Perfect Planning Events | The Signature CEO Conference | Breasia Productions | Photography, In His Image Photography)
When planning any type of event there are many facets and elements that are decided to make the event successful. With the complexity of planning sometimes there are important details that are neglected which are essential for the total experience. One of those important details is the audio-visual equipment; the technology components that relate to lighting, sound, and visual. Audio visual equipment is a vital component of your event that bridges your attendee engagement, communication level, the ability of your audience to connect with your brand or message, and enhances the overall experience of your event. It is the technology that is vital to bring the message forward and engage attendee responsiveness.
We reached out to our preferred partners at Breasia Productions (Jamal Lee – Owner/Executive Director) and they provided us with (7) key things to be aware of to make your event a success with audio visual equipment.
It is very important to have clear sound across all aspects of the room. People in the rear should be able to hear just as well as those in the front.
Proper use of the microphone is important for clear sound. Many people do not know how to use a microphone properly by holding the microphone near the chest. Placing the microphone in this position puts the sound engineer in a very difficult situation where the volume must be raised, and this could cause feedback. It is best to hold the microphone 2 to 4 inches from the mouth (four fingers from the mouth).

(Perfect Planning Events | The Signature CEO Conference | Breasia Productions | Photography, In His Image Photography)
Positioning of clip-on or lavaliere microphone is key. Often-times lavalieres are placed in the wrong position on a presenter. For example, placing a lavaliere on a tie is ideal but many presenters do not wear ties so always aim at placing the lavaliere microphone in the center most area of the chest (approximately 4 inches beneath the chin).

(Perfect Planning Events | The Signature CEO Conference | Breasia Productions | Photography, In His Image Photography)
Place white production tape (gaffe tape) on the edges of the stage to minimize accidents. Presenters can easily fall off the stage if the edges are not properly marked. Most stages are black and many times difficult to see the edge especially when you are speaking forward and moving around a lot. You can minimize these concerns by outlining the edge of the stage with a 1-inch production white tape. Also, white tape across the steps, keeps people from tripping up and down the steps. If the stage is more than 24 inches, it is required to put a railing left, right, and rear of the stage. Some facilities may require a rail over 16 inches so always ask the venue or stage provider as it may differ.
Placing plants or other visible obstructions across the front of the stage will often help the presenter accurately gauge their distance from the edge. These “obstructions” or decorations can also enhance the look of the stage.
Place your camera operator opposite from the front of the stage and on a riser with at least two feet of elevation from ground. When projecting what is happening on the stage (imag) or recording, you do not want to see the back of someone’s head on the screen or recording. This happens very often when the camera person is placed in the wrong location.
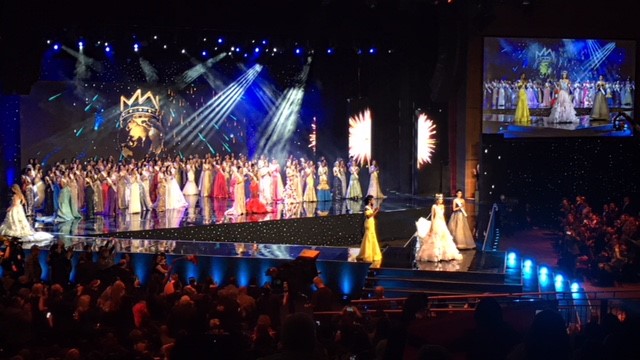
(Breasia Productions | Miss World Pageant at MGM)
Always ensure that all lighting equipment is secured, and a safety cable added for security.
If you will be on stage and your event is being recorded, try to stay away from the hard blues and greens when there is a white background across the stage. These colors tend to not show up well in today’s cameras.
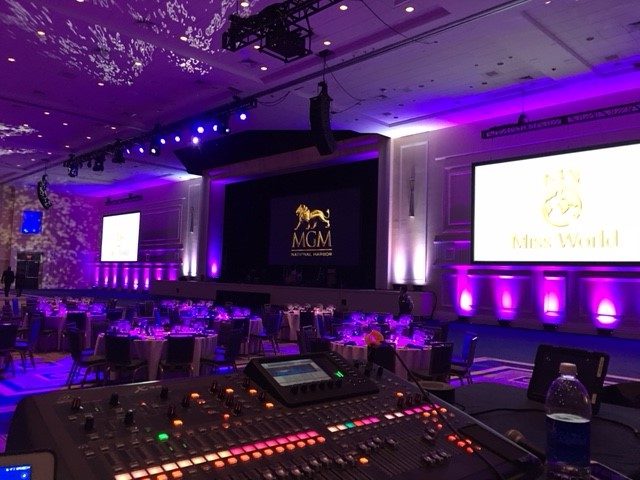
(Photo Courtesy of Breasia Productions)